(877) 663-5483
 (844) 333-1387
How to Prepare Your House for Painting?
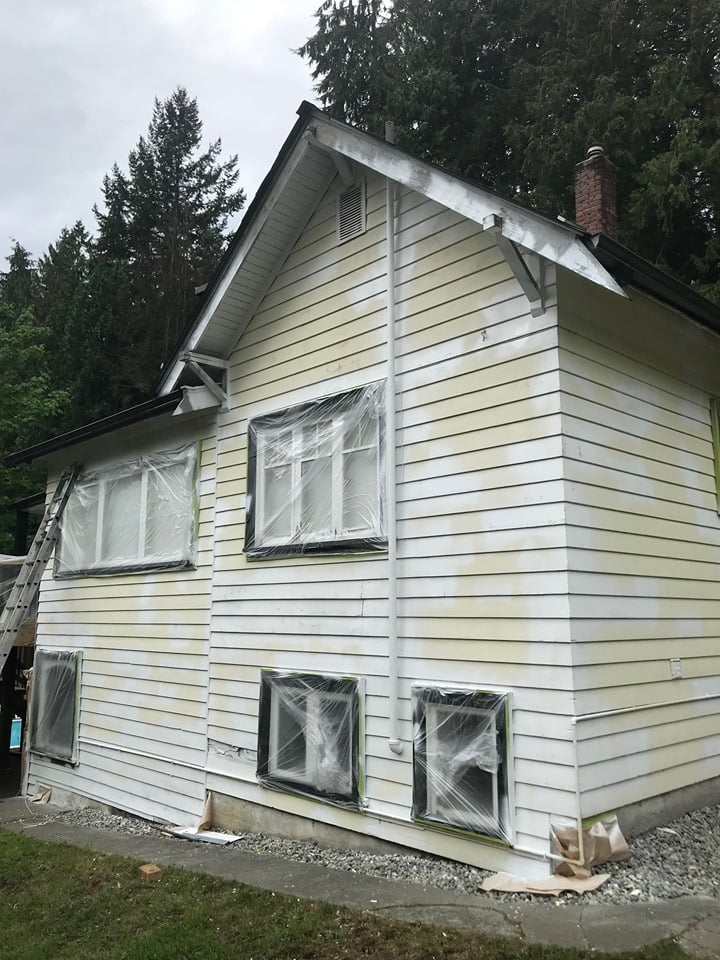
You’ll want to take care of the prep work before you give the house a final washdown so that you can get all the debris from the prep out of the way, too. In addition to smoothing and scraping any loose paint or already-damaged areas prior to painting, here’s how to maximize your new paint job by prepping the most stubborn spots and surfaces.
Wood Near the Ground
Any wood that is sitting at the ground level is going to struggle to hold paint. This is because the ground soaks up water and releases that moisture back into the wood, creating a damp surface that breaks the bond between the paint and the wood. If you have trim or wood siding near surfaces where water pools, you’ll want to scrape and treat the bottom 16 inches of that wood with a water repellant.
You’ll also want to create a gap between the wood and the ground surface to prevent ground moisture from seeping into the wood. You can leave the gap, or you can add some kind of waterproof or weatherproof stripping or capping to fill it in.
Scraping paint can be a chore, but between scrapers and sandpaper it shouldn’t be impossible. If you want, you can use a heat gun to help loosen up the paint as you go. Just be careful near weather-stripping and vinyl, which could melt due to high heat exposure.
Read the label on the repellant that you use to see how long you’ll have to wait before applying primer, as well as which type of primer is required (many repellants require an oil-based primer).
Then, prime the wood and apply two coats of paint. You can use masking tape to cover the gap while you’re treating and painting the wood, so that you’re not accidentally painting the concrete, as well.
Pieces That Won’t Hold Paint
Nothing is more infuriating than getting to a single trim piece or plank of siding that just doesn’t want to hold paint, even though every surface around it looks perfectly painted without so much as a smudge or a drip. There are some different reasons why this can happen, but most often it’s because of leftover glazes on the lumber from the milling process. Commonly referred to as “mill glaze”, this finish can be sanded down until you get a rough, yet smooth wood that is ready to take paint.
If you need more adhesion, use a rough grit sandpaper to get a better grip on the paint. If this doesn’t cure the problem or only offers short-term help, you’ll probably just want to replace any bad siding or trim pieces that are struggling to hold paint like they should. It will be a lot less hassle and it can even save you money in the long run.
If you’re replacing siding, you need to pull out the nails and remove them carefully to ensure that you don’t damage the board or the rest of the house’s exterior. When you add new siding pieces, make sure that you sand them to remove any glazed spots or areas that may need more help holding paint. Use caulk and primer to coat the nails, fill nail holes, and fill the gap where the boards meet up with the existing siding.
Siding Near Roof Lines
Builders will often install siding and trim right up to the roof line without sealing the edges near the shingles. Unfortunately, most homeowners won’t notice this until the moisture from the shingles starts to soak into the wood and the paint begins to peel. The good news is that this is usually a fairly simple fix. Here are some things that you should keep in mind when prepping these areas for a new coat of paint.
- Cut back all siding and trim so that there is a one-inch gap between them and any shingles or roofing edges. That keeps direct contact from being an issue and gives you space to seal the ends of the boards so that they don’t continue to absorb moisture and peel paint in the future.
- Carefully scrape and remove any paint on pieces that can be saved. If you find any rotting areas or damaged boards while scraping, you can either replace the entire board or simply cut out the section that is damaged.
- When you are cutting through a piece of siding, make sure that you don’t just go straight through or you’ll risk cutting into the flashing and that will create a whole new problem. Carefully use a hacksaw or dovetail saw to cut down to about 1/8 of an inch from the flashing, then use a utility knife to finish the cut.
- Use duct tape instead of masking tape to protect shingles and flashing from the new paint. Masking tape is effective in a lot of areas, but usually won’t stick effectively to these surfaces.
- Use disposable foam brushes to apply the water repellant to any surfaces before you paint. The foam ensures a full, thorough coat and using disposable brushes means less cleanup. Plus, they’re relatively inexpensive tools when you’re stocking up for a big exterior paint job.
Tools and Materials for the Job
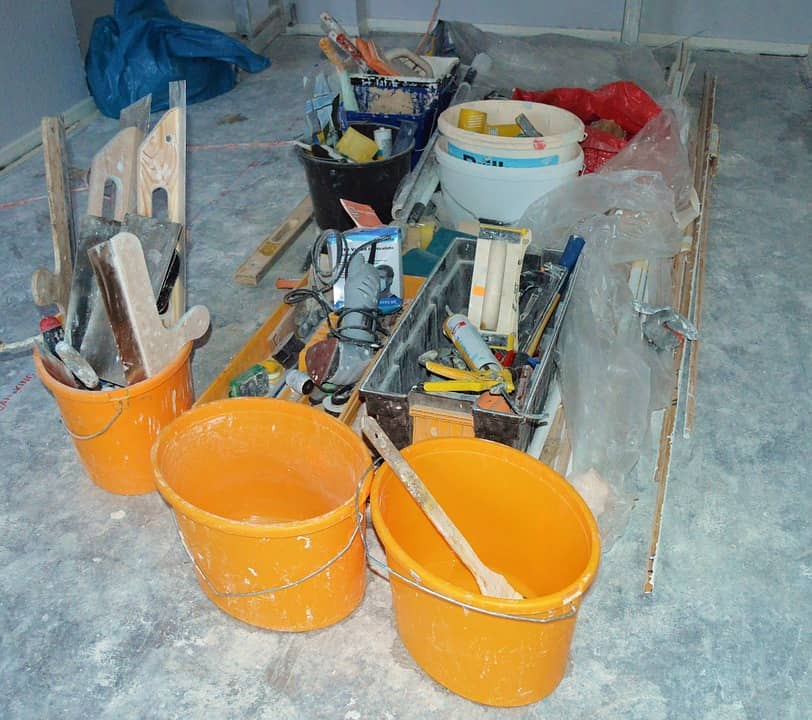
If you are going to take on any of these prep tasks by yourself before a house painting job, there are a number of tools that you’ll need to get the job done right. Some people prefer to hire a professional painter who already has the tools and equipment for the job, which is definitely an option that you have. However, doing the prep work yourself is fairly simple, in most cases, and it can save you a small fortune on labor costs.
When you are getting ready to prep and paint your house, here are some tools to make sure that you have on hand:
- Caulking gun
- Hammer
- Paint scrapers and putty knives
- Extension ladder (for reaching high areas)
- Needle-nose pliers, regular pliers, and snips
- Paint brushes and foam brushes
- Pry bar
- Safety glasses and roof harness, along with other safety gear
- Reciprocating saw or hand saw
- Sanding blocks and sandpaper
- Square, tape measure, and a utility knife
- Offset dovetail saw (easier for cutting by the roof lines)
- Drop cloths
You’ll also need the right materials for the job, including:
- Water repellant/wood sealer
- Caulk
- Paint and primer
- Trim pieces and boards for replacement
- Shims and wood filler
- Siding nails
- Painter’s tape (masking) and duct tape
Other Tips, Tricks, and Paint Prep Must-Do’s
If you’re working on making small repairs and prepping areas that are often trouble spots, you’ve probably already taken the time to examine your entire house and look for trouble spots and areas that might need a little TLC before you dive into painting the entire house. If you haven’t done this yet, it should be first on your list. You’ll want to inspect all areas of the siding and pay special attention to areas near joints, corners, windows, and the foundation. This is where a lot of problems with peeling paint and other damage can occur.
Here are some more tips to keep in mind:
- When scraping paint, use a wire brush and a metal putty knife with a wide blade to smooth out blemishes and remove paint layers for a smooth new coat of paint. There are attachments available for electric drills if you want faster work on a surface like metal. You can also invest in what is known as a sharp pull scraper, which will remove all paint in a single scrape. Just be careful not to damage the surface when trying to remove old paint.
- Sand shiny and textured surfaces smooth so that they will take paint better. An electric sander is best for larger areas, but hand-sanding the corners and other details will be most effective. Use an orbital sander, though, because other types of electric sanders may leave marks behind that show through when you paint over them.
- Liquid paint removers should only be a last-ditch effort. Not only are they expensive, but they are notoriously messy and could cost you a lot of perfectly good paint if you aren’t careful.
- Make sure that you fill all cracks in the siding, replace damaged boards and loose caulking, scrub off all mildew and dirt before prepping and painting, and take care of other details so that when it comes time to paint, you can just get to work (or let the painters, if you’re hiring someone to do the job).
- As with any painting project, preparation is a large part of the job. If you do it right, the actual painting will be a breeze and your house will have a fresh new look in no time at all.
Images – Elite Trade Painting – Vancouver