6 Easy Interior Painting Projects to Transform Your Home
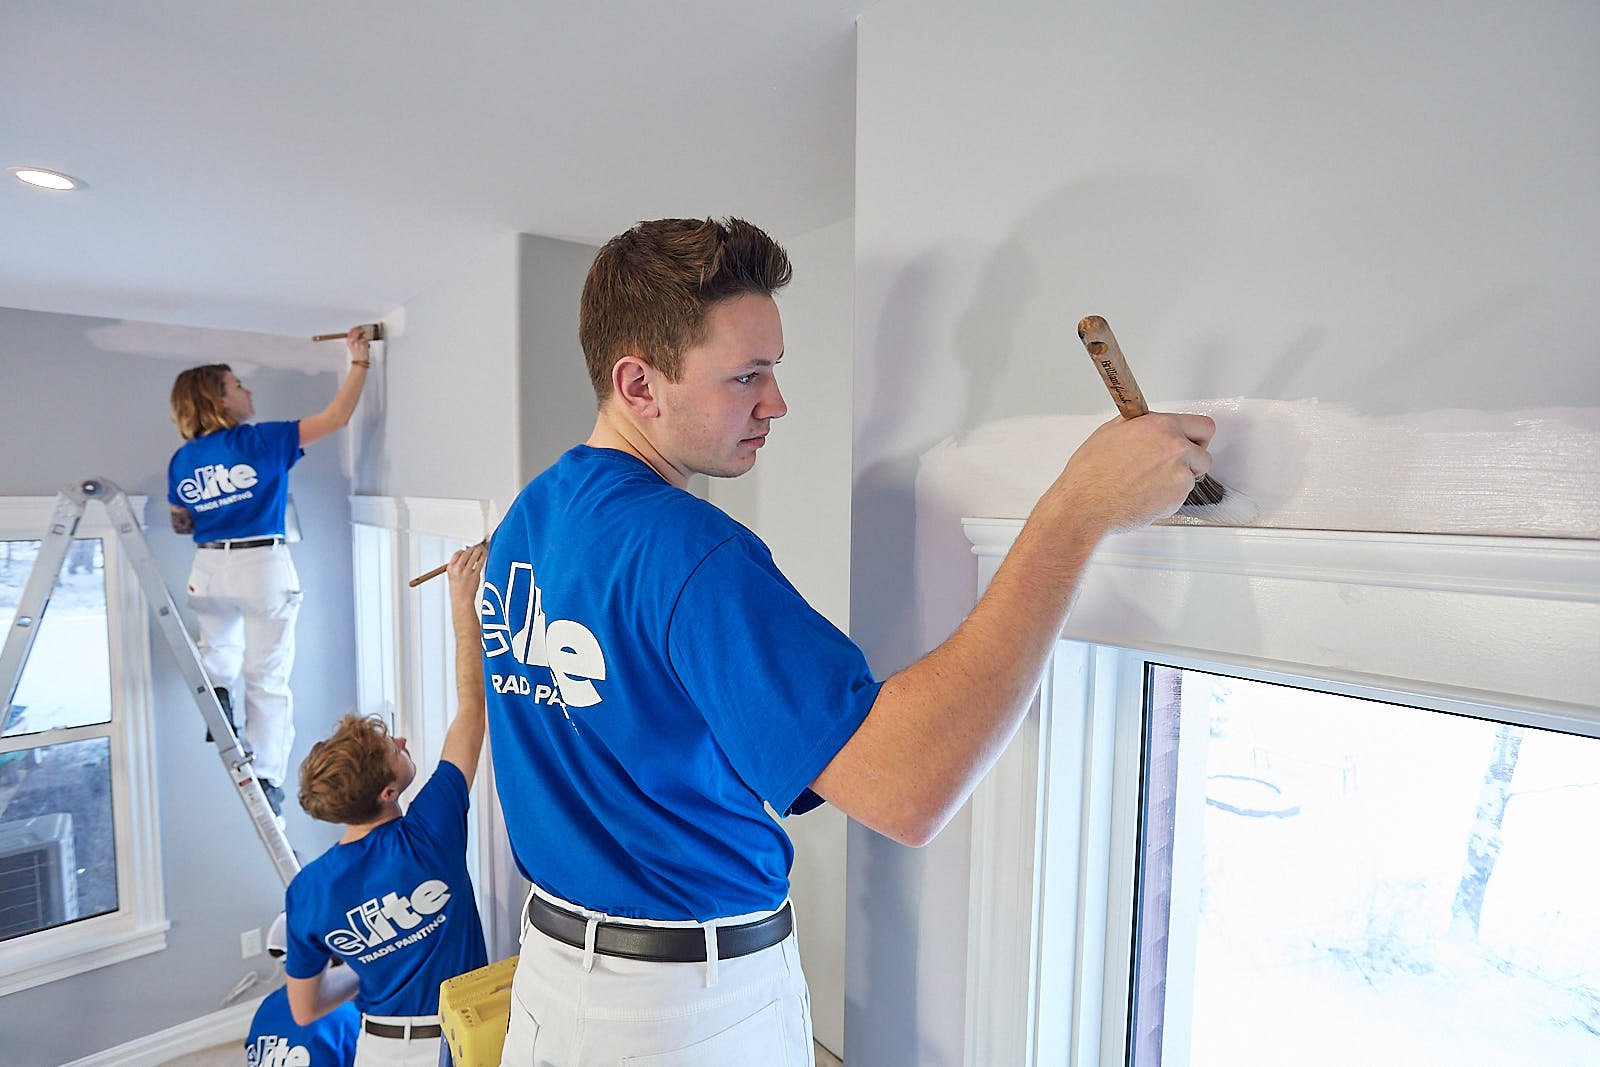
One thing is abundantly clear: We have gotten very well-acquainted with the insides of our homes during 2020. It’s inevitable that seeing the same furniture, accessories, and drab walls day after day has an unpleasant impact on us. Chances are, you found yourself wishing you could brighten up those dowdy colors you know so well. Well, you are in luck!
Here are half a dozen little projects that will bring light and delight into your home. You may enjoy these few changes so much that you won’t want to rejoin the mainstream again when all the businesses reopen and the world goes back to the way it was.
Or, more likely, when we can return to “business as usual,” at least your attitude will be as bright as your home.
#1 Painting That Wall or That Room
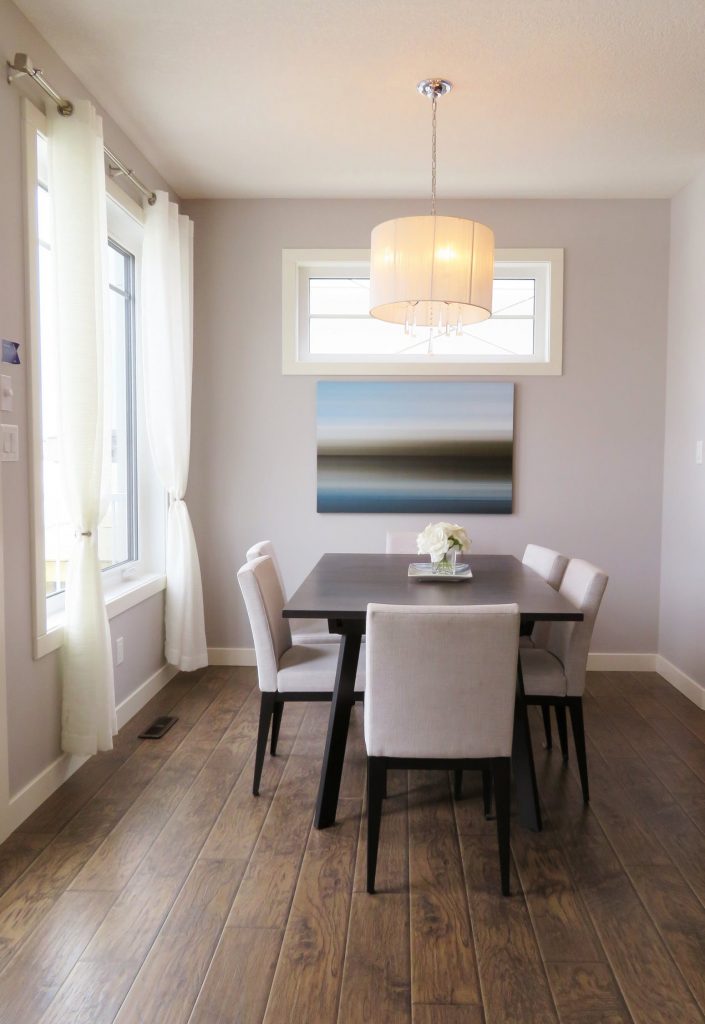
It’s very likely you have a color that is particularly meaningful to you, perhaps a pastel yellow or blue, that brings a smile to your face whenever you see that shade. What wall or room in your house would you like to transform from dingey to delightful? Of course, moderation is the key. Even the most beautiful wall paint colors can be overwhelming if they are too intense.
Perhaps literally changing the color of a wall or a room is too intense. Or, perhaps, all your accessories in the room you want to change were picked because they matched the hue of the walls. That doesn’t mean that you can’t lighten the tone and stay with the same color. Can you think of anyone’s face that isn’t prettier when that person smiles? Lightening the shade of the paint on the largest wall in a room without changing the color is a way of making a room smile.
Here are a few ideas that may come in helpful as you think about which wall or room you want to change and what color you’d like it to be.
Before you do anything else, decide what you want the room to look like when you’re through.

Get color cards and hold them against the wall.
Remember when you’re deciding on the color that an entire wall painted with any shade is going to be more intense than it appears on the sample.
Calculate your paint
The rule of thumb is that a one-gallon can is able to paint the walls in a 100 square foot room for two coats. Typically two coats are necessary to completely cover the old color.
Break out the drop cloths, plastic and the tape to protect the room so that nothing accidentally becomes your favorite shade.
A well-ventilated room will provide comfort for the painters and help the paint dry quicker.
Now the fun part: roller and brush—enjoy yourself.
Having given the paint time to drive, don’t consider it clean up. Consider it an unveiling.
It may well be that you’ve never painted your walls before. Or perhaps you’ve tried and the result was not what you had hoped. There is nothing like having some good help to breathe a little life into the color you’ve chosen in the form of interior home painters. The best part about bringing in professional interior painters is that they clean up after themselves.
#2 Paint the Ceiling
At some point, you may raise your eyes just a bit and notice the top of the room needs a little help as well. Ceilings come in many varieties. Older ones may be made of plaster.
Perhaps you have a drop ceiling with acoustic tiles or a popcorn ceiling. Regardless of what kind of construction it is, it will accumulate dust and a lonely cobweb here or there. Cleaning the ceiling is a difficult, dusty enterprise that invariably results in a sore neck from looking up.
One thing that can brighten a room and ease the burden of cleaning the ceiling as a bright new coat of paint.
Here are some tips to help you get started on this job:
Cover Everything
It’s especially important to cover everything in the room with drop cloths and to use painter’s tape to mask the tops of the walls and any molding that might be subject to getting painted. Most professionals do not use take to cut straight lines at the ceilings edge.
Use ceiling paint.
Yes, these are high viscosity paints and they do the job really well.
Getting Started
When it’s time to paint, start with a brush and go around the edges of the room doing a three-inch cut in (that is, paint three inches from the wall toward the center of the room.
Go to your paint roller on an extension pole and paint the ceiling.
Wait for the paint to get good and dry and have an unveiling.
You may hesitate at this if you have a popcorn ceiling, thinking that it will end up look two-toned, like a mountain range partially covered in snow. In actuality, you can paint a popcorn ceiling and make it appear consistent all the way across. You’ll need to use paint rollers with a very deep knap and make sure you pause about twice as often to fill the rollers with paint.
#3 Painting Trim and Baseboards
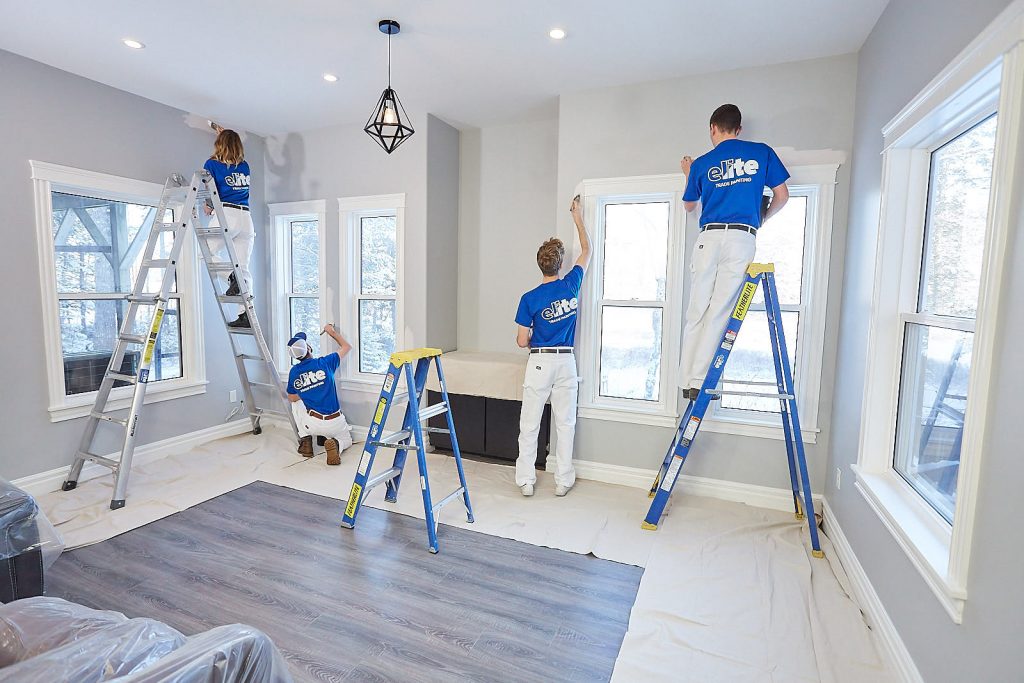
Regardless of whether you paint the walls or the ceiling, one way to brighten any room with woodwork in it—and especially living rooms, game rooms, bathrooms, and kitchens—is to paint the trim work and baseboards. High gloss paint isn’t used on large wall areas or other large painted spaces because it’s simply too bright and would become distracting and oppressive. However, trim work and baseboards painted with semi-gloss paint can accent the colors of the walls and accessories and, in doing so, brighten a wall and an entire room.
If you want to make the woodwork come to life, here is the process:
Begin by cleaning the woodwork you want to paint.
You can use a damp cloth to wipe them down.
If the trim isn’t completely smooth, you can sand it the surface.
Don’t forget to wipe up the residue so no sawdust gets in the paint.
If there are dings, cracks, or divots in the woodwork, you can use spackling to fill those and wait until the compound dries.
Go back over the spackled areas with fine-grit sandpaper and clean.
Use painter’s tape all around the edges of the walls, countertops, floor, and any area that might accidentally leap out in front of your paintbrush.
Now it’s time to put the finish coat on the woodwork.
Some experts recommend using short strokes up and down until a section of the trim is finished, then come back and use long, horizontal strokes to smooth the appearance of the paint.
It may take a while for the high sheen trim paint to dry, so try not to be impatient as you wait for it to be completely ready for the unveiling.
#4 Painting Kitchen and Bathroom Cabinets
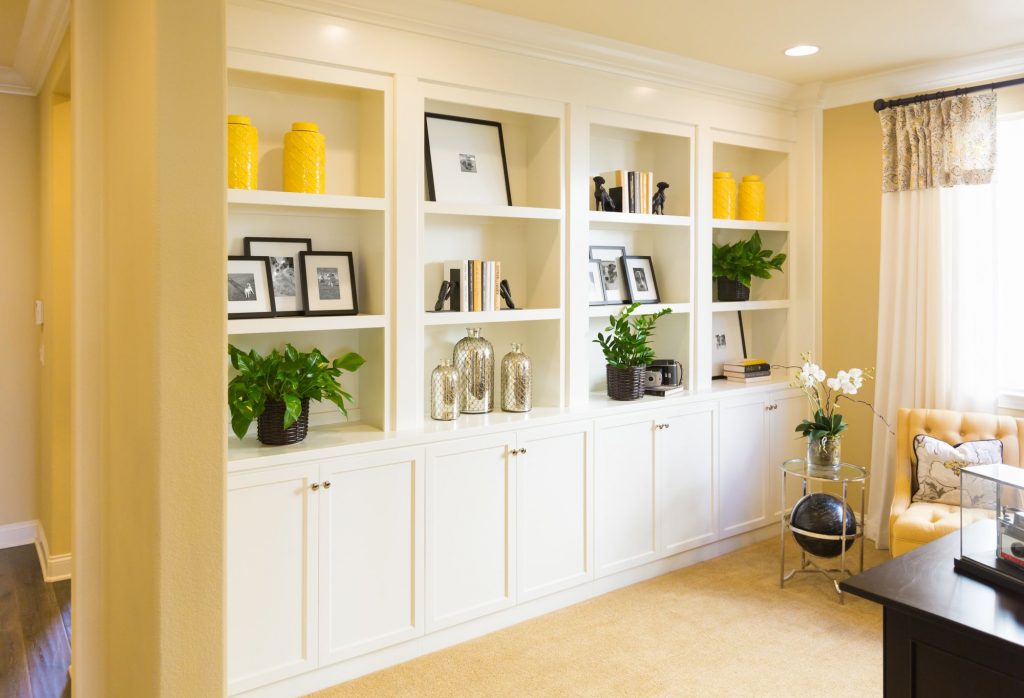
How often during our stay-at-home time in 2020 did we find ourselves staring at the kitchen cabinets and built-ins? They seemed to acquire a kind of dreariness about them and sometimes we thought we’d like to replace them all. Replacing cabinets is a massive undertaking that upsets the household for days on end, not to mention the budget. There is a step short of replacing the cabinets that will end the malaise of seeing them day-after-day—and brighten your entire kitchen in the process: painting your cabinets and built-ins.
The main caution about repainting kitchen cabinets is not to underestimate the job or to fail to plan it out carefully. Even though the final appearance is wonderfully uplifting, it can be a daunting undertaking and quite time-consuming. Here is one good way to approach the task:
Determine what kind of primer and paint you’re going to need
This is because laminate cabinets may require a special primer. Also, not every cabinet or built-in may have the same surface. The primer is the key to being able to paint everything once you get to that step.
Take the doors off the hinges and the hinges off the doors and remove the hardware.
Because not all the screws, caps, hinges, and so forth may be the same sizes, and because you won’t be able to tape the hardware to the pieces they go with, it’s important to label the hardware and keep it in sandwich bags, cups, or small plastic containers.
Clean and, if necessary, sand the cabinets. You want them to be clean, dry, and smooth.
Next comes the all-important primer coat.
The challenge is to make sure this coat covers completely and is even. This is also the “spread out step,” as you have to wait until the primer is good and dry before proceeding.
Finally, you’re ready to paint.
What is the best paint for your cabinets and built-ins?
In past times, a high gloss latex was the default paint for cabinets and is often still favored. More recently, painters have chosen to use a water-based semi-gloss, pearl or satin as it is durable, cleans easily, and is attractive.
The unveiling is sort of anticlimactic with this project since you have to spend time reattaching all the hinges and hardware.
How long does it take for kitchen and bathroom cabinets paint to dry?
#5 Interior Brick Staining and Painting

This project is especially intended for those who have brick fireplaces, mantels, or other brick features in your home. If you ever have a chance to check out rustic rental cabins or mountain getaways on your computer, you may notice on those sites with brick fireplaces that there is a scorched, black stain on the brick directly above the fireplace.
Of course, those common soot stains come from people not opening the fireplace damper before lighting the fire. In fact, you may have a stain something like that on the brick around your fireplaces. If you don’t and yet you use your fireplace, it’s only a matter of time until someone in charge of the lighting the fire forgets to open the damper, resulting in an irreversible black stain on the brick.
Whether the brick is stained or not, many folks don’t care for the particular color of brick they have inherited on their hearth. Regardless of the reason you don’t care for the color of brick inside your house, here are some steps to change the brick color and rid the fireplace of its soot scar:
Begin by cleaning the brick thoroughly.
You may need a wire brush to free loose brick dust and mortal. Don’t worry about getting the soot completely off since the brick is porous and the stain is deep down in it. The main thing is to get rid of any loose particles or dirt, as they can cause the paint to peel.
Use painter’s tape to protect the surfaces on every side of the brick.
It’s a good idea to tape paper or plastic to the underside of the bricks that sit just above the fireplace opening as well.
The first layer to go on the brick is a masonry primer.
The primer is essential in making the brick and finish paint bond together.
Next comes the finish layer, which may require two coats.
You can use a roller for the brick facing but will need a paintbrush to make sure the grout between bricks is thoroughly covered.
When fully dry, you can remove the painter’s tape and appreciate the new beauty of your fireplace.
Just in case there should be another damper incident, remember that soot washes right off high gloss paint, which is impermeable.
#6 How Is Your Natural Woodwork Looking?
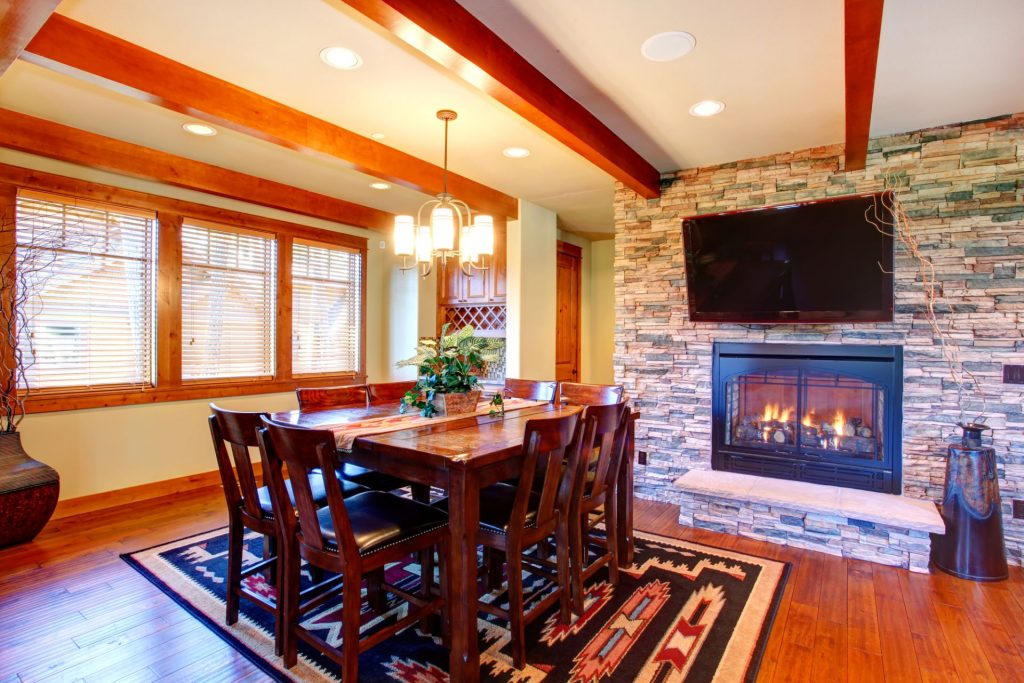
Many beautiful homes have finished natural wood appointments as well as painted wood. There may be any number of items you’d like to brighten by staining and varnishing. Here are some tips for making the natural wood look brand new:
Preparation
Before starting, clear away anything that you don’t want to be contaminated with sawdust, as you begin by examining your woodwork for smoothness and sand down any protrusions. Roughing the entire wood with sandpaper will remove old varnish and prepare the wood to accept the stain.
Use a brush or cheesecloth to apply the stain of your choice to the sanded wood.
Wipe off excess immediately. Look at the wood as the stain dries and determine if a second coat is needed.
After the stain is dried, apply a hardwood sealer.
Once the sealer has dried, sand it again.
Complete the project by applying a varnish.
Each and all of these ventures have the potential to brighten your home and uplift the spirits of everyone who lives there as well as the visitors you will one day welcome again.
Get help from Professional Interior Painters!
Because of the complexity of the projects, you might want to consult and invite the help of professional painters. This removes the guesswork out of which type of paint to choose—even though the color choices remain all yours. Professional interior painters have the extra advantage of furnishing all the supplies and cleaning up after themselves after the work is done. Best of all, you can’t make a mistake when pros are doing the work on your behalf!
 (877) 663-5483
 (844) 333-1387


