(877) 663-5483
 (844) 333-1387
How to Prepare Your Walls for Interior House Painting in 8 Steps
Sometimes an open weekend rolls around, presenting you with a few hours to spare. Excitedly, you grab a paint roller, a gallon of paint, and a drop cloth and start painting the walls. When you finish, you feel like bragging about how quickly you completed the job. After the paint has dried, however, you find yourself walking from room to room, feeling a little let down as you see the flaws that had not been apparent while you were painting. You wonder, what did I do wrong?
When it comes to flawlessly painted walls, preparation is the key to a successful result. In this blog, we’ll go through the eight simple steps that you can follow to get your walls ready for that new paint job they really need.
Thus far, we’ve been talking about walls that have been painted before. Perhaps you have some wallpaper on a few walls too and you’ve grown tired of the pattern. As a bonus, we’ll give you five steps to prepare your papered walls to receive the paint they deserve.
Step 1: Clean the Walls Well
Cleaning the walls properly begins by avoiding the notion that you’ll be painting over any flaws. Dirt, grit, mold, watermarks, dust, divots, cracks, and any other flaws must be dealt with before the paint is applied. Although it is not common to wash the majority of walls prior to painting, where deemed necessary it may be appropriate. To correct these problems, the walls must first be well cleansed. Dish soap in water is an appropriate cleanser. Since there will be a residue from the detergent, it’s good to wipe off the wall with water after washing it.
If mold is present, it can be removed with a water and bleach mix, 1/2 cup of water to a quart of bleach.
Step 2: Time for Inspection
To ensure a quality finished product, it’s very important to have all the wall repair done thoroughly and properly prior to painting. The first step in wall repair is actually inspecting the walls and making note of what the scope of work will be. Using a step stool to get an adequate view, search in sections of three to four feet wide, moving from the top of the wall to the baseboards. You’re looking for cracks, indentations, chipping of paint, divots, nail marks, or similar blemishes.
Step 3: Time to Choose Your Paint
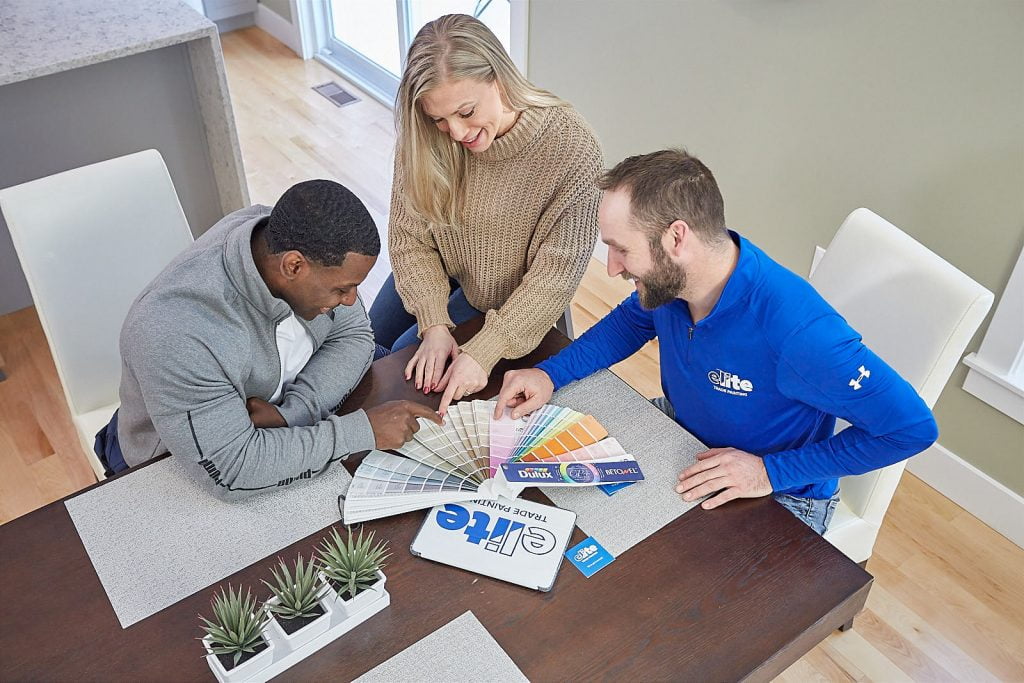
This step may seem out of order, but this is actually the best time to determine what color you want the new finish coat of the walls to be. Seeing the current coat in its best condition, you have the opportunity to place paint swatches against it or even paint large stripes on butcher paper and place them against the wall to dry. As long as you’re painting the wall, this is the best time to decide whether or not to try different tints or shades of the same color or go with a different color altogether. In the time it will take for any repairs and the primer coat to dry, you’ll be able to acquire the new paint you’ll need.
Step 4: Determine the Amount of Paint You’ll Need
Now that you know what paint you want, you need to determine the quantity you’ll need. The usual rule of thumb is that a gallon of paint will cover the walls of a 100 square foot room for two coats.
To determine the square footage of the walls you’ll be painting, simply multiply the height of the wall by its width. So an eight-foot-high wall that is 10 feet long (8 x 10 = 80) equals 80 square feet. Once you add the square footage of all the walls, it will give you an idea of how many square feet you’ll be covering with paint.
An important question to ask is whether or not you are completely changing the color of the walls. If the walls were blue and you’re going for yellow, even with a good primer, there is a chance you’ll need two coats of paint. A good rule of thumb, when figuring how much paint you’ll need, is to err on the side of more paint than you think is necessary. Nothing is worse than finishing your paint supply before you finish the walls you’re painting.
Step 5: Repair the Damage
This is a particularly critical step. Any holes, cracks or divots should be filled with an appropriate substance. Typically, spackling applied with a filling blade (4”-6”) and smoothed as much as possible will handle smaller issues. Substantial holes in the wall, up to about six inches, can be repaired with a patch kit and joint compound. It should be drawn across the hole with a filing bladeand then smoothed down. As it dries, you should apply a second coat. Don’t forget to fill nail holes. They have a way of swallowing primer and paint and reappearing if they are not filled with spackle or joint compound. While spackling dries in two hours, it will take a good 24 hours for the joint compound to set up. Since your larger repairs will be using a joint compound, this step may require a full day.
Step 6: Sand to Smooth
Sanding is another disregarded step. You will want your wall to be perfectly smooth once this entire process is complete. Each of the places you repaired, though they were smoothed with a filling blade, will have raised edges. It’s important to use fine-grit sandpaper and work patiently to make sure when you are through that, with your eyes closed, your fingers cannot tell where the repair was made. Ideally, you’ll use sandpaper with a 100-150 grit. One of the dangers of sanding is impatience. Pressing down too hard with your fingers creates grooves on the surface. If these become indentations on the wall, you’ll have to repeat the spackling process. Once you finished with sanding, you’ll want to wipe the entire wall down with a damp cloth, then vacuum the baseboards and floor.
Step 7: Tape and Drop Cloth
Painter’s tape is a wondrous invention, depending on your skill level with a brush it will determine the amount of taping that you will do. Lesser skill levels will have you run it along the edges of the ceiling, baseboards, and any trim you don’t wish to paint. Once the tape is in place, take the edge of a clean putty knife and force the very edge of the tape tight against the edge of the wall. This is your best insurance that the paint will go precisely where you want. Drop cloths should be placed against the baseboard securely all along the walls to be painted. Even though you’re painting the walls and not the ceiling, it’s a very good idea to cover anything adjacent to the wall—bookcases, furniture, lamps, accessories—with drop cloths as well.
Step 8: Prime Your Walls
Typically, priming is not required for previously painted walls however if there is bare drywall, an old oil painted surface or something that needs sealing then it can be beneficial. Priming is used to seal or ensure adhesion of the painted topcoat to a surface.
Begin by cutting in, this just means going around the very edges of the wall and painting about a two to three-inch strip, as if making a border for the wall. To ensure continuity when you begin priming the wall, it’s best to go back to the notion of three to four-foot sections again. Start at the top and work your way to the bottom of the imaginary section, then move over one section and start from the top again. Make sure that you get full coverage. Those damaged places you repaired should have disappeared completely when the primer coat has dried. If not, wait until the primer dries, then sand until smooth and apply another coat of primary. Now you’re ready to apply your finish coat of paint!
Preparing Walls That Are Wallpapered
There are a couple of ways to strip wallpaper in preparation to paint a wall. The process we’re listing below is as good as any and better than most. Going into this effort, it should be noted that removing wallpaper is laborious and time-consuming. The good news is, once you get old wallpaper off, you never have to put wallpaper back on. In fact, once you get the wallpaper off, that wall is ready for the process described above, which will get it ready for priming and painting.
Step 1: Drop Cloths
Using drop cloths for protecting your floors, you’ll want to ensure they are right up against your wall or trim so that any excess water from the outlined process below is caught. In the third step, you’ll be wetting the walls, you may also want shop towels or old towels to soak up any excess water as you proceed. Make sure to move furniture away from walls to the center of the room and to cover outlets and light switches with tape. It’s best if you can run portable lights with a drop cord plugged into a different room so that you can turn off the electricity to the room you’re working in and still be able to see.
Step 2: Pull Off the Outside of the Wallpaper
You may need to score, that is, make long, shallow cuts in the wallpaper to do this. The goal is to rip off the wallpaper. It will likely come off in sheets, but portions of the backing of the paper will remain stuck to the wall. This is to be expected. When scoring the wallpaper, do your best not to penetrate the underlying drywall. Remember that every deep cut you make is an error that will have to be corrected. You may find the paper is looser near the top of the wall. Pull it at a 45º angle. In general, the longer the wallpaper has been attached to the wall, the harder it will be to remove it.
Step 3: Wet the Backing of the Wallpaper to Loosen It
Using hot tap water, and wearing rubber gloves, use a sponge or a floor mop to apply the water to the places where wallpaper backing is still stuck. You want to loosen the paste on the wallpaper backing without damaging the drywall beneath it. The trick is to work in one area, one section, and loosen the backing without wetting the entire wall.
Step 4: Gently Scrape the Backing Off the Wall
This is a matter of trial and error, as you have to be firm enough to get the backing off, but gentle enough not to mar the wall beneath it. Some experts use metal spatulas since they tend to be a little more flexible than trowels or putty knives. You’ll want to keep a wet rag handy because the edges of your tools will quickly be coated with the old paste.
Step 5: Use Gel to Remove the Stubborn Patches
Inevitably there are places where the glue simply will not moisten and will not scrape. In those cases, the best remedy is to cover them with a gel stripper. It may be that all the paper backing has been removed, but you can still see some glue on the wall. It has to come off. Put the gel stripper directly on the glue or the backing with glue under it and give it about 20 minutes. Then you’ll be able to use a putty knife to scrape the gel, paper, and glue off at once.
Summary
A weekend will come up soon when you’ll know it’s time to respond to the challenge of getting those weary, drab walls refinished with a eggshell coat of new paint. This brief article has spelled out the preparation process so that you have the information you need to tackle the job.
There is, by the way, always the option of not actually performing the job but rather supervising the job. Now that you know what’s entailed, you can go through the preliminary steps of picking out colors and then step back as residential interior painters follow through with their expertise, cutting the completion time down considerably. When you consider that you won’t have to buy all the supplies that go with the painting, won’t have to clean the walls, tape the room, or move the furniture, it seems the project pretty much pays for itself.